 Save
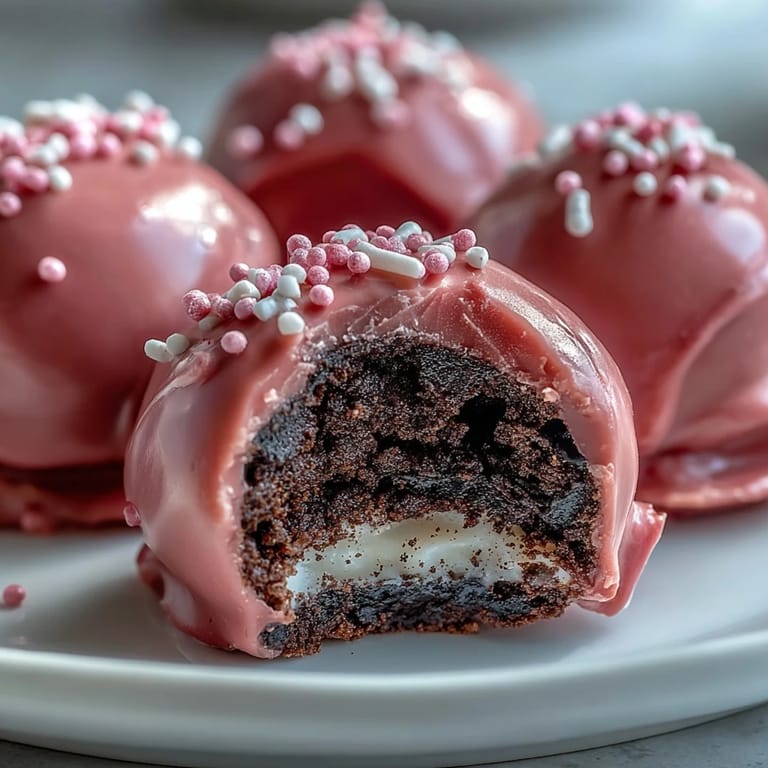
Save My daughter's ballet recital was coming up, and she begged me to bring something pink for the dessert table. I had one sleeve of Oreos left in the pantry and a block of cream cheese that needed using. What started as a last-minute scramble turned into the most requested treat at every birthday party since. The sound of that candy shell cracking open never gets old, and neither does the way kids' eyes light up when they see that dark Oreo center peeking through all that bright pink.
I made my first batch for a baby shower, and halfway through dipping I realized my hands were covered in pink candy melt and chocolate smudges. My friend walked into the kitchen, looked at me, and said I looked like I'd been finger painting. We both laughed so hard I nearly dropped a truffle. That messy, joyful moment reminded me why I love making these, they're fun, forgiving, and always bring people together.
Ingredients
- Oreo cookies (14.3 oz / 405 g), with filling: Use the whole cookie, cream and all, for that signature cookies-and-cream flavor that makes these truffles so addictive.
- Cream cheese (8 oz / 225 g), room temperature: Softened cream cheese blends smoothly without lumps, creating a creamy binder that holds the crumbs together perfectly.
- Pink candy melts or white candy melts tinted with pink oil-based coloring (12 oz / 340 g): Candy melts are easier to work with than chocolate because they set quickly and stay glossy without tempering.
- Vegetable shortening (1 tsp, optional): A tiny spoonful thins out thick candy melts and gives you a smoother, shinier finish on each truffle.
- Sprinkles or edible pearls (optional): A quick sprinkle while the coating is wet adds a festive touch and hides any imperfections in your dipping technique.
Tired of Takeout? 🥡
Get 10 meals you can make faster than delivery arrives. Seriously.
One email. No spam. Unsubscribe anytime.
Instructions
- Crush the Cookies:
- Pulse the Oreos in a food processor until they look like dark, fine sand, or seal them in a zip-top bag and roll over them with a rolling pin until no large chunks remain. Either method works beautifully, though the food processor is faster and more consistent.
- Mix the Base:
- Combine the Oreo crumbs and softened cream cheese in a bowl, stirring with a spatula until the mixture turns a uniform grayish-brown and holds together when pressed. It should feel like thick cookie dough, not crumbly or greasy.
- Shape the Truffles:
- Scoop out tablespoon-sized portions and roll them between your palms into smooth, compact balls. Line them up on a parchment-lined baking sheet as you go, trying to keep them roughly the same size so they cook and coat evenly.
- Chill Until Firm:
- Refrigerate the truffle balls for 30 minutes, or pop them in the freezer for 15 minutes if you're in a rush. They need to be cold and firm or they'll fall apart when you dip them.
- Melt the Candy Coating:
- Microwave the candy melts in a microwave-safe bowl at medium power in 30-second bursts, stirring after each interval until silky and smooth. Stir in the vegetable shortening if the melts seem too thick or clumpy.
- Dip Each Truffle:
- Use a dipping fork or regular fork to lower each chilled truffle into the melted candy, roll it gently to coat, then lift it out and tap the fork on the bowl's edge to let excess coating drip off. Set each truffle back on the parchment-lined tray carefully.
- Decorate While Wet:
- Quickly add sprinkles or edible pearls while the candy coating is still glossy and tacky. Once it starts to set, decorations won't stick as well.
- Let Them Set:
- Allow the truffles to harden at room temperature for about 20 minutes, or speed things up by chilling them in the fridge for 10 to 15 minutes. The coating should feel dry and firm to the touch before you move them.
- Serve and Store:
- Serve the truffles chilled for the best texture contrast between the snappy shell and creamy center. Keep leftovers in an airtight container in the refrigerator for up to a week.
 Save
Save One evening, I set a plate of these on the counter and my husband grabbed two without asking what they were. He bit into one, paused, then said, wait, this is just Oreos and cream cheese? I nodded. He shook his head, laughed, and took three more. Sometimes the simplest things are exactly what people crave, no explanation needed.
Choosing Your Coating Color
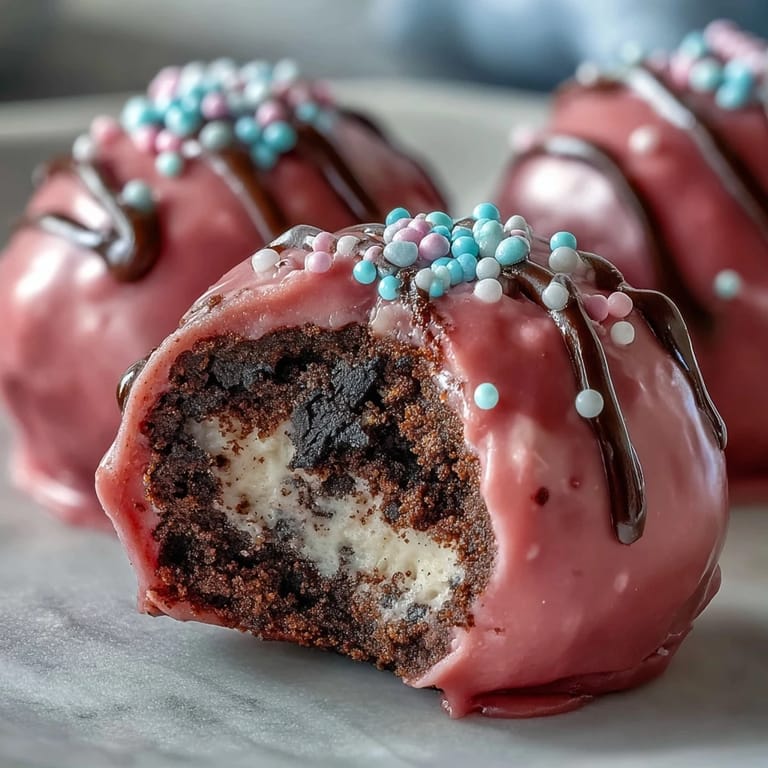
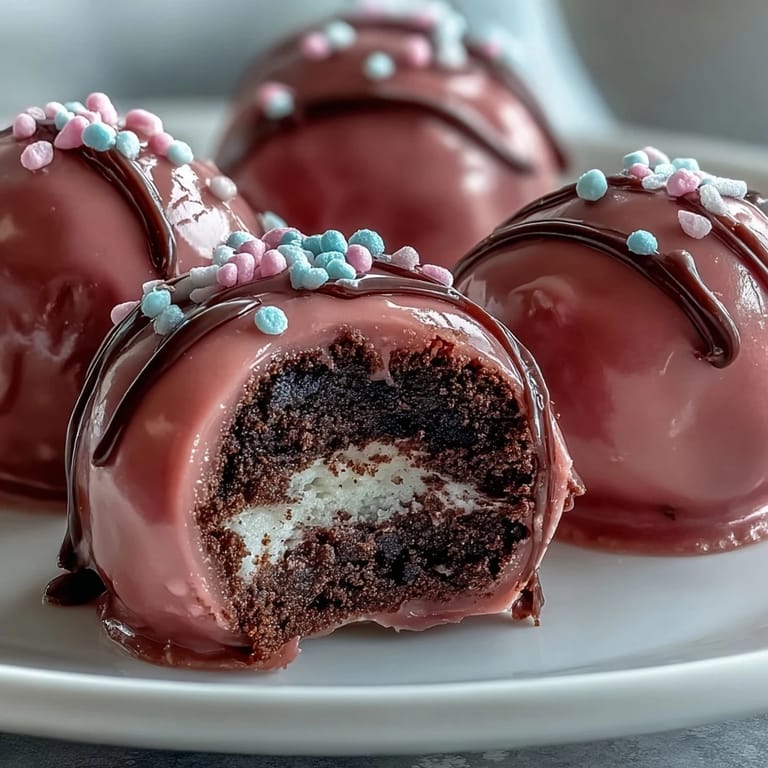
Pink candy melts are my go-to for baby showers and spring gatherings, but I've made these in red for Valentine's Day, pastel blue for a boy's birthday, and even swirled two colors together for a marbled effect. Oil-based food coloring works if you only have white candy melts on hand, just add a few drops and stir until you reach your desired shade. Water-based coloring will seize the coating, so double-check your bottle before adding anything.
Texture Tweaks and Add-Ins
I once stirred a handful of finely chopped pecans into the truffle base, and the subtle crunch made them feel more grown-up and less like a kids' party treat. Shredded coconut, mini chocolate chips, or even a pinch of espresso powder can change the flavor profile completely. Just don't add too much or the truffles won't hold their shape when you roll them.
Serving and Presentation Ideas
I like to arrange these truffles in mini cupcake liners on a tiered stand, it makes them look bakery-perfect without any extra effort. They're sturdy enough to stack in a gift box lined with tissue paper, and they travel beautifully to potlucks or office parties. If you're feeling fancy, drizzle a contrasting color of melted candy over the top in thin lines for a striped effect.
- Nestle them in clear cellophane bags tied with ribbon for easy party favors.
- Serve them straight from the fridge so the coating stays crisp and snaps cleanly.
- Pair them with coffee or champagne for an unexpectedly elegant dessert moment.
 Save
Save These little pink spheres have become my secret weapon for last-minute gatherings and surprise treats. They're proof that you don't need a long ingredient list or professional skills to make something people remember.
Recipe FAQs
- → How long do these truffles need to chill before dipping?
The truffle balls should chill in the refrigerator for 30 minutes or in the freezer for 15 minutes until they're firm enough to handle without losing their shape during the dipping process.
- → Can I use white chocolate instead of candy melts?
White chocolate can work, though candy melts are specifically formulated for coating and set up harder. If using white chocolate, add a teaspoon of vegetable shortening to help it achieve the proper consistency for dipping.
- → What's the best way to crush the Oreos?
A food processor creates the finest, most uniform crumbs in seconds. Alternatively, place the cookies in a sealed zip-top bag and crush with a rolling pin until no large chunks remain.
- → How should I store these finished truffles?
Keep them in an airtight container in the refrigerator for up to one week. The cool temperature maintains the firm texture and prevents the candy coating from becoming soft or sticky.
- → Can I make these ahead of time for an event?
Absolutely. Prepare and coat the truffles up to 2-3 days in advance, store them in the refrigerator, and they'll remain fresh and ready to serve when your guests arrive.
- → Why do I need to add shortening to the candy melts?
Shortening thins the melted candy slightly, creating a smoother consistency for dipping and yielding a shinier, more professional-looking finish once the coating sets.