 Save
Save I used to toss every carrot peel and onion end without a second thought until a chilly Tuesday evening changed my mind. I was midway through a soup recipe and realized I had run out of store bought cartons. Necessity forced me to simmer the pile of scraps sitting on my cutting board instead. The kitchen filled with an earthy sweetness that no grocery store box could ever mimic.
Last winter I hosted a small dinner party where I served a simple risotto made with a batch of this scrap broth. My friends kept asking what brand of stock I used because the flavor was so complex and deep. It felt like a small victory to tell them it was literally just the bits of vegetables they usually discard. Since then I have become the person who saves even the smallest garlic skin in a dedicated freezer bag.
Ingredients
- Vegetable Scraps: Use a mix of carrot peels and onion skins for color and depth while ensuring they are thoroughly cleaned first.
- Bay Leaf: This adds a subtle herbal background that ties the whole pot together without overpowering the other flavors.
- Black Peppercorns: Whole corns provide a slow heat that powdered pepper just cannot match in a long simmer.
- Cold Water: Starting with cold water allows the flavors to extract slowly as the temperature rises.
Tired of Takeout? 🥡
Get 10 meals you can make faster than delivery arrives. Seriously.
One email. No spam. Unsubscribe anytime.
Instructions
- Gather the Goods:
- Toss your colorful collection of frozen or fresh trimmings into the heavy pot. Ensure you have a good mix of colors and textures for the best result.
- Add the Aromatics:
- Throw in the peppercorns and bay leaf then pour the water over the top. The water should just barely cover the pile of vegetables.
- Simmer Gently:
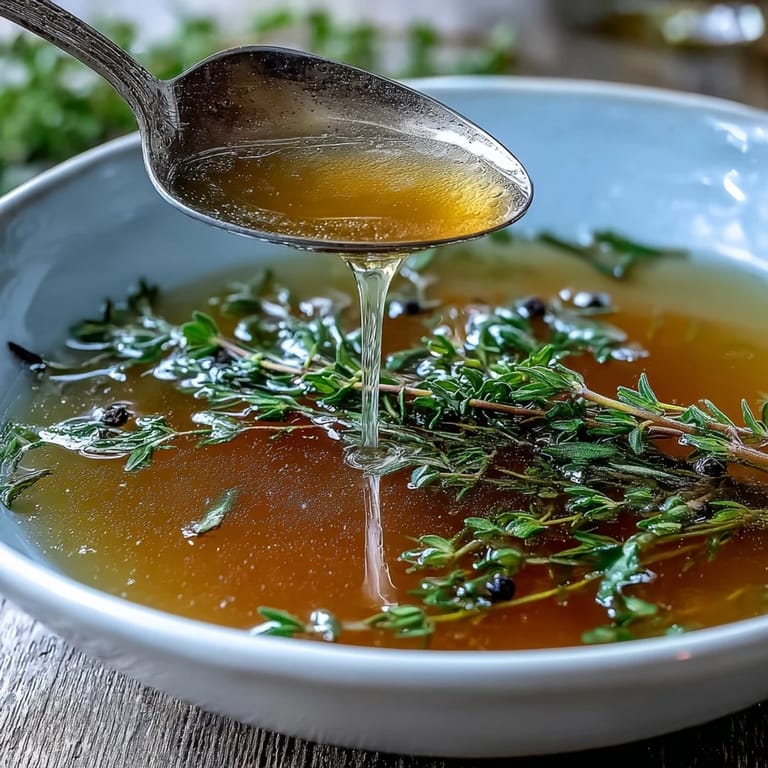
- Watch for the first few bubbles before turning the heat down to a lazy roll. Let the heat work its magic until the liquid turns a deep amber hue.
- Strain and Store:
- Pour the liquid through a fine mesh sieve until you see the clear broth. Discard the softened vegetables and let the liquid cool before putting it away.
 Save
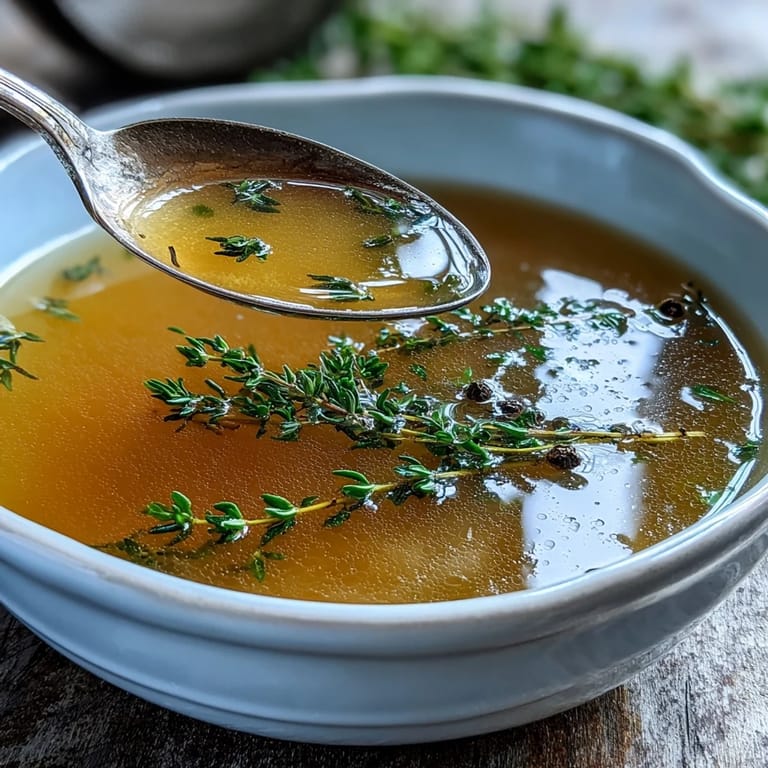
Save One rainy afternoon I sat by the window sipping a mug of this warm broth while reading a book. It was not just a base for soup but a comforting ritual that made my whole house feel cozy. Knowing I made it myself from scratch added a layer of satisfaction to every sip.
The Freezer Bag Strategy
I keep a gallon sized bag in the freezer door to toss in scraps throughout the week. It is satisfying to watch the bag fill up with leek tops and mushroom stems. Once it is bulging I know it is time to get the big stockpot out. This method ensures nothing goes to waste and flavor is always ready.
Finding the Right Balance
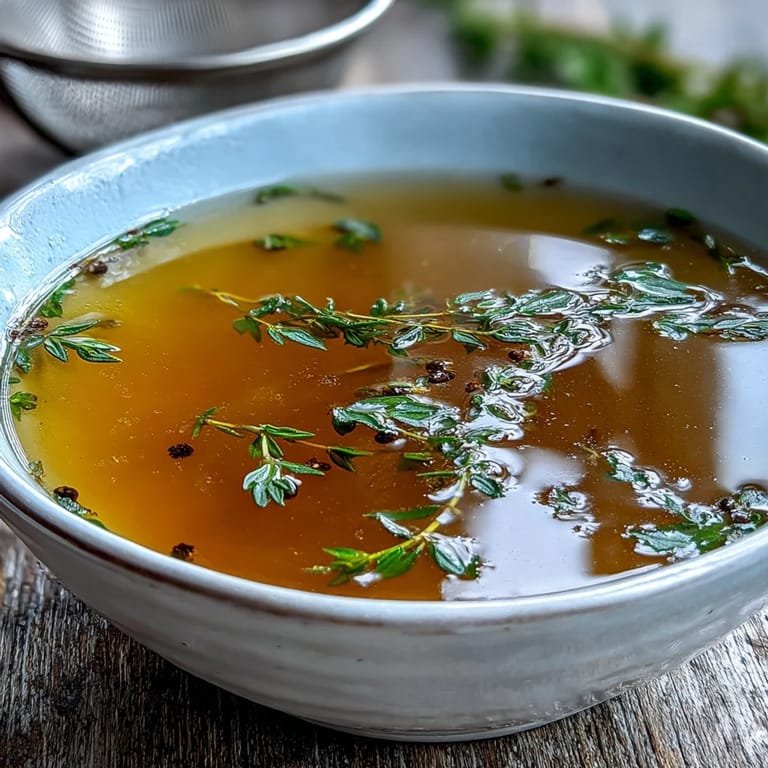
Onion skins are the secret to that gorgeous golden brown color you see in high end stocks. I try to balance the sweet carrots with plenty of savory onion and garlic trimmings. If I have parsley stems lying around they go in for a fresh grassy note. Experimenting with different ratios is how you find your house blend.
Beyond the Soup Pot
This broth works wonders when you use it to cook rice or quinoa instead of plain water. The grains soak up all that vegetable essence and become a side dish that can stand on its own. It is also the perfect liquid for deglazing a pan after searing mushrooms.
- Freeze the broth in ice cube trays for quick flavor boosts in sauces.
- Always label your containers with the date so you use the oldest broth first for freshness.
- Try roasting your scraps first if you want an even darker and richer flavor profile.
 Save
Save This simple habit transforms your kitchen waste into a pantry staple you will use every single week. Happy simmering and enjoy the wonderful aroma of a home that wastes nothing.
Recipe FAQs
- → What vegetables work best for homemade broth?
Carrot peels, onion skins, celery ends, leek tops, mushroom stems, and parsley stems create excellent depth. Avoid brassicas like broccoli and cauliflower, which can add bitterness. Potato peels may cloud the liquid.
- → How long does the broth keep fresh?
Store the strained broth in airtight containers in the refrigerator for up to 5 days. For longer storage, freeze in portions for up to 3 months. Thaw overnight in the refrigerator before using.
- → Can I roast the vegetables first?
Roasting vegetable scraps at 200°C (400°F) for 20 minutes before simmering adds rich, caramelized depth. This extra step creates a darker, more robust broth perfect for heartier dishes.
- → What if I want more umami flavor?
Add a small piece of kombu seaweed or dried mushrooms during simmering. Both ingredients naturally enhance savory notes without overpowering the vegetable essence.
- → Should I salt the broth?
Salt is optional and best added to taste. If using the broth as a base for other dishes, keep salt minimal to allow flexibility in final seasoning. For sipping, adjust to your preference.
- → What should I avoid adding to the broth?
Skip potato peels, brassicas, and overly sweet vegetables like beets, which can cloud or flavor the broth unpredictably. Also avoid any scraps that look wilted, moldy, or past their prime.